How to import CSV files in any web application with Rowslint
Published
Handling CSV or Excel file imports can be tedious, especially when dealing with complex data and validation rules. That’s where Rowslint comes in—an embeddable CSV importer designed to simplify and streamline the entire process for developers.
This guide will walk you through the process of integrating Rowslint into your web app.
What is Rowslint
Rowslint is an embeddable CSV importer built to format and validate spreadsheets effortlessly. It abstracts away the complexity of implementing CSV validations, offering a user-friendly interface with robust validation types. Whether you’re dealing with large datasets or complex data structures, Rowslint makes it easy to handle CSV and Excel file imports within your platform.
Let’s explore how to integrate Rowslint into your app in minutes!
Step 1: Setup your Rowslint account
if you do not yet have an account, head over to the Sign-up page and sign-up.
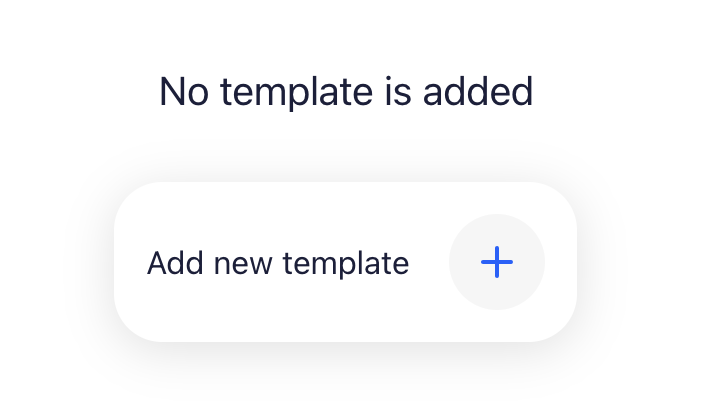
Once you’re logged in, you can create a new template.

Give an useful and unique name to identify the template.

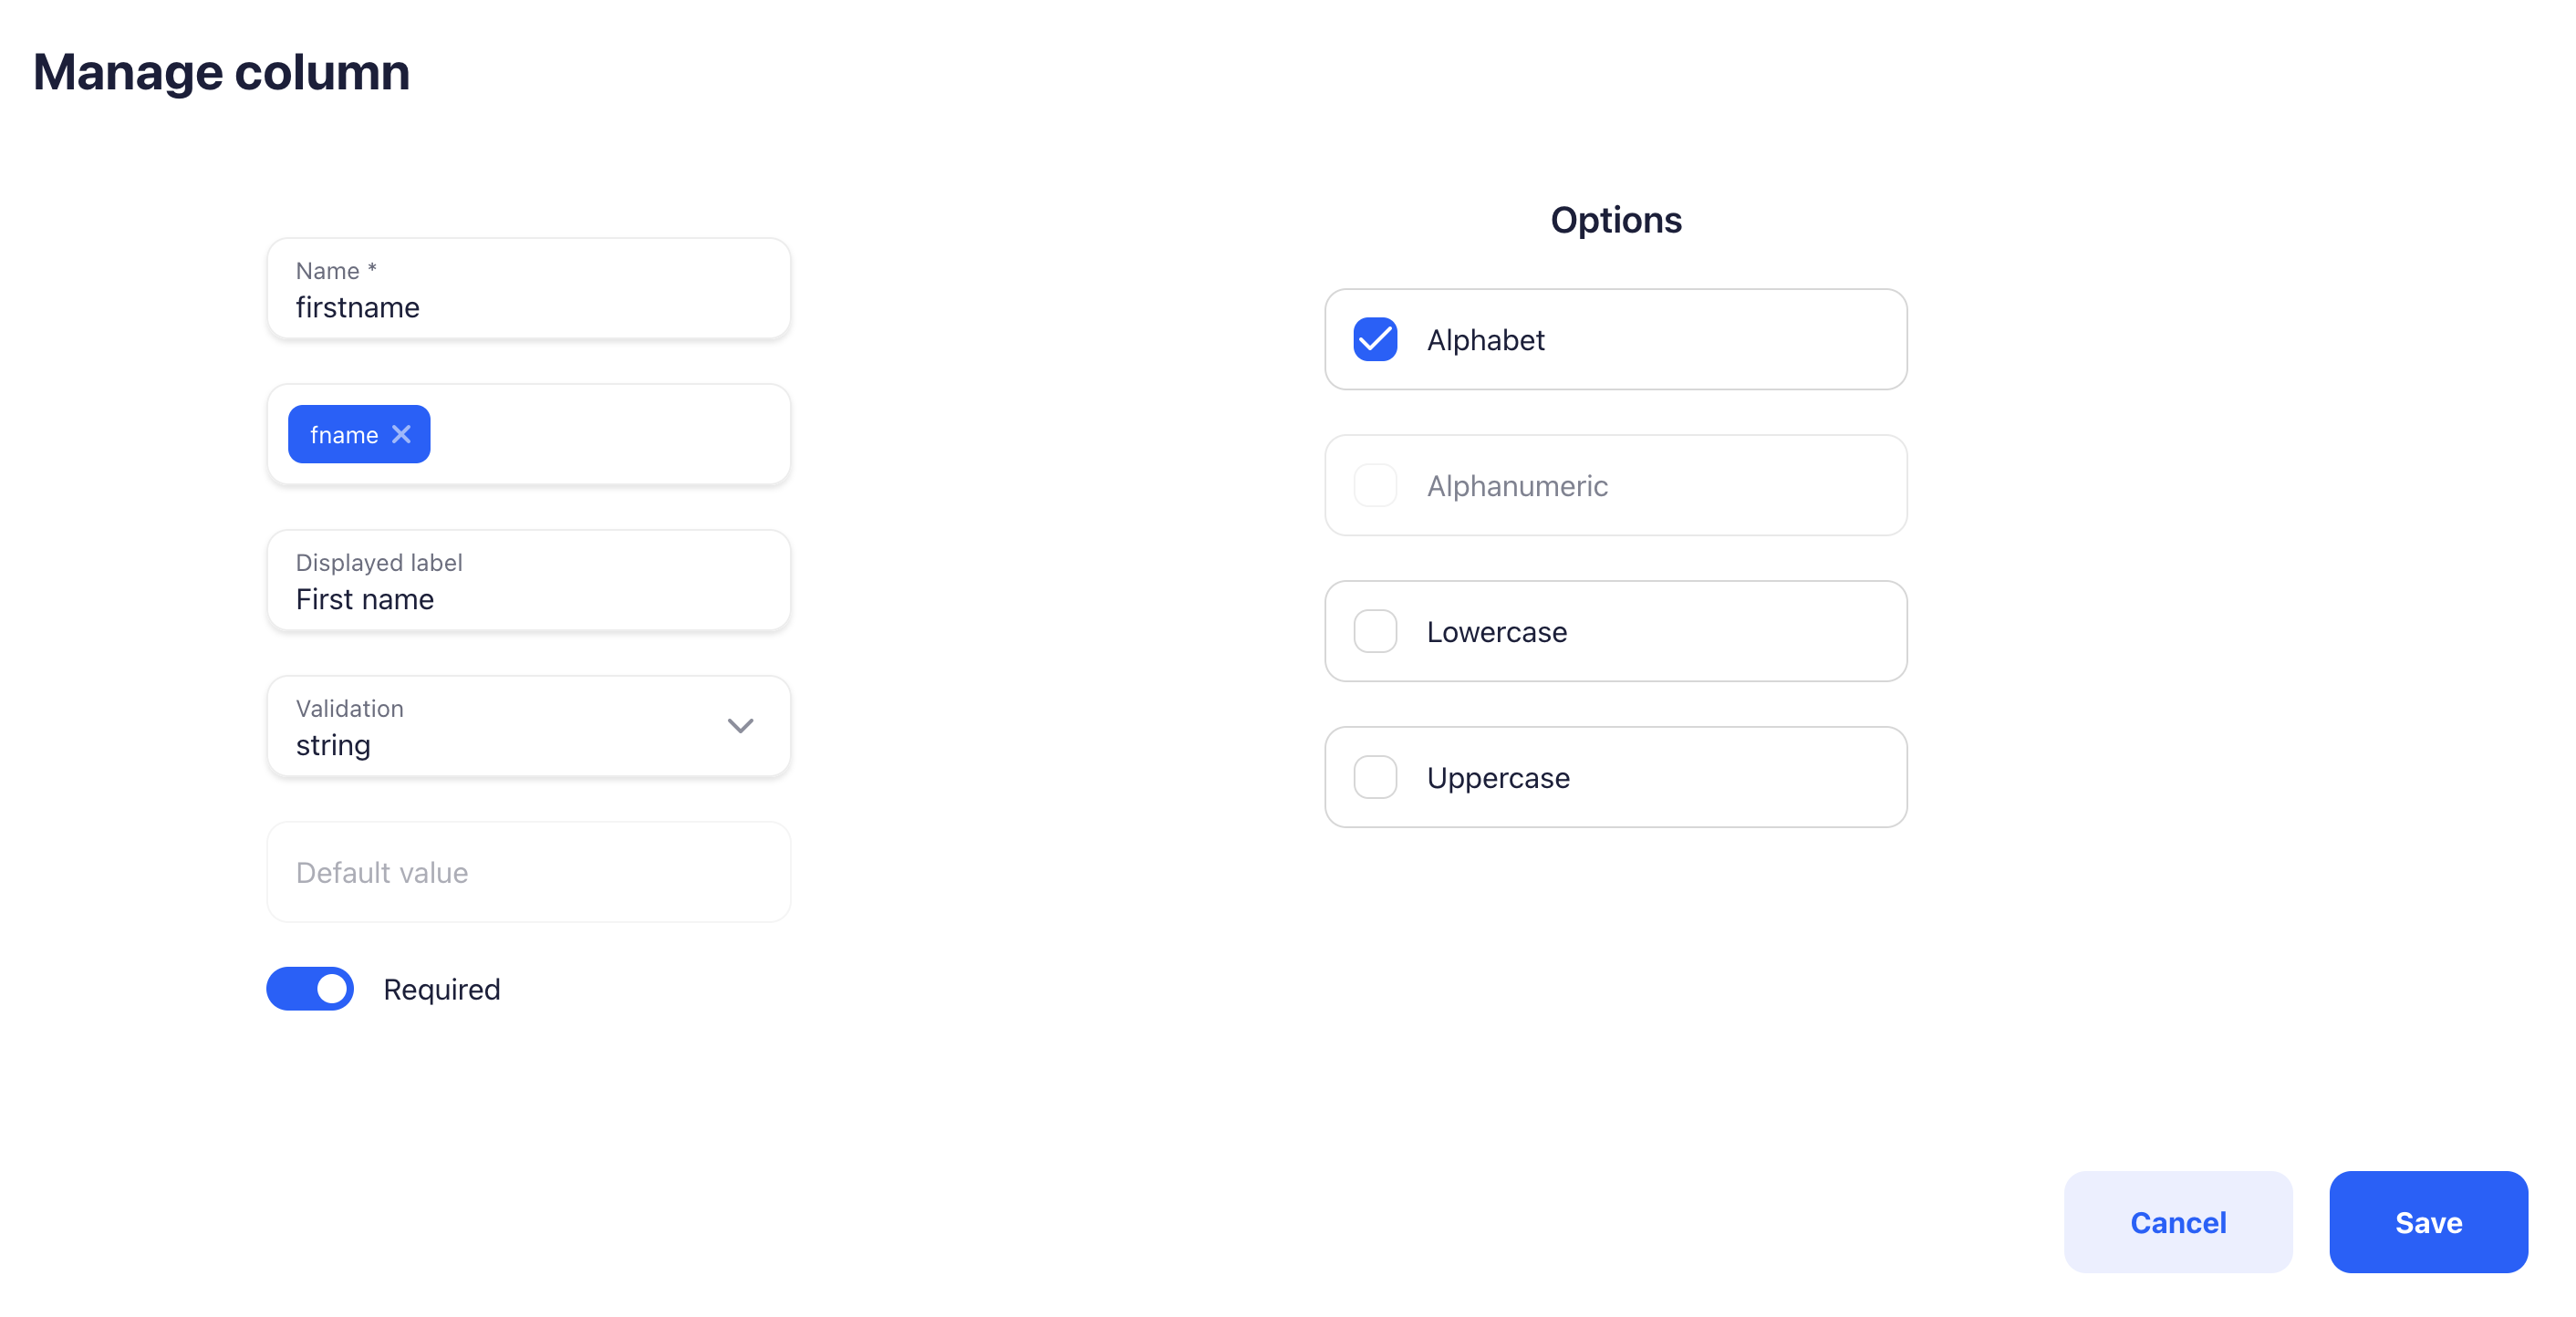
Click on the Add column button to add a new column.

Fill in the column fields and save. Note that only the “name” field is required.

Then save the template.

Step 2: Install the Rowslint Package
The first step is to install the Rowslint client package into your JavaScript project via npm. Run the following command in your terminal:
npm install @rowslint/importer-jsYou want to use the CDN script instead of the npm package? Check the documentation
Step 3: Import @rowslint/importer-js
Once the package is installed, import launchRowslint from @rowslint/importer-js
import { launchRowslint } from '@rowslint/importer-js';Step 4: Set Up the CSV Importer
Call the launchRowslint() function with organization API key
template key parameters to display the importer UI.
launchRowslint({
  // Your organization API key here.
  apiKey: 'ORGANIZATION_API_KEY',
  config: {
    // Your template key here.
    templateKey: 'TEMPLATE_KEY',
  },
});
With just this you’ll have a complete import UI!
Step 5: Handle Import Results
The launchRowslint() function provide a callback parameter which is triggered on the importer modal closes.
You can use it to handle the closing of the importer after the import has been completed.
launchRowslint({
  apiKey: 'ORGANIZATION_API_KEY',
  config: { templateKey: 'TEMPLATE_KEY' },
  // Callback.
  onImport: (result) => {
    switch (result.status) {
      case 'success':
        // Handle spreadsheet import success.
        break;
      case 'error':
        // Handle spreadsheet import error.
        break;
      case 'cancelled':
        // Handle spreadsheet import cancel.
        break;
    }
  },
});
This event handler allow you to capture the results of the import or any errors that occur during the import.
See an example of the return format here on the documentation.
Why Choose Rowslint?
Rowslint provides a streamlined, flexible solution for handling CSV and Excel file imports, making it the perfect tool for developers managing the import process.
- Fully customizable UI: Customize the look and feel of the importer UI to fit your application styles. .
- Custom Validation Types: Tailor the validation rules to fit your platform’s specific data requirements.
- Seamless Integration: The embeddable importer can be easily added to any JavaScript app with minimal setup.
- Supports Large Datasets: Rowslint.io is optimized to handle large data files efficiently, ensuring smooth performance.
Conclusion
Integrating Rowslint into your web app is simple, and it will greatly enhance your platform’s ability to handle CSV or Excel file imports. With customizable validation options and a user-friendly interface, Rowslint is the go-to solution for developers looking to simplify data import workflows.
Get started today by installing Rowslint in your app and visit our full documentation for more details on customization: Rowslint Documentation
